Moving to California? Here’s How to Get Your Vehicle Registration Right!
Hello and Welcome to California!
If you’re moving to California, you’re probably really excited! There’s so much to see and do here. But before you can get settled, you’ll need to make sure your car is registered with California’s Department of Motor Vehicles (DMV). It might seem a bit tricky, but don’t worry! This guide is here to help you out and make sure everything goes smoothly.
What You Need to Know About California DMV Rules
The California DMV has some specific rules about registering vehicles, especially if you’re bringing a car from another state. These rules help keep cars safe and keep track of who owns them. It’s super important to know these rules before you start the registration process so you can avoid any problems or fees.
Gathering Your Important Papers
Car Title and Registration
You’ll need your current car title and registration when you move to California. Make sure your title is clear, meaning there are no holds or liens on it, as this could make things complicated. Also, check that your registration is up-to-date because an expired one might mean extra charges.
Proof of Insurance
In California, there are certain insurance requirements your car must meet. These might be different from where you used to live. Get a new insurance policy that follows California’s rules and make sure the paperwork shows this change. If you skip this step, you might face some delays.
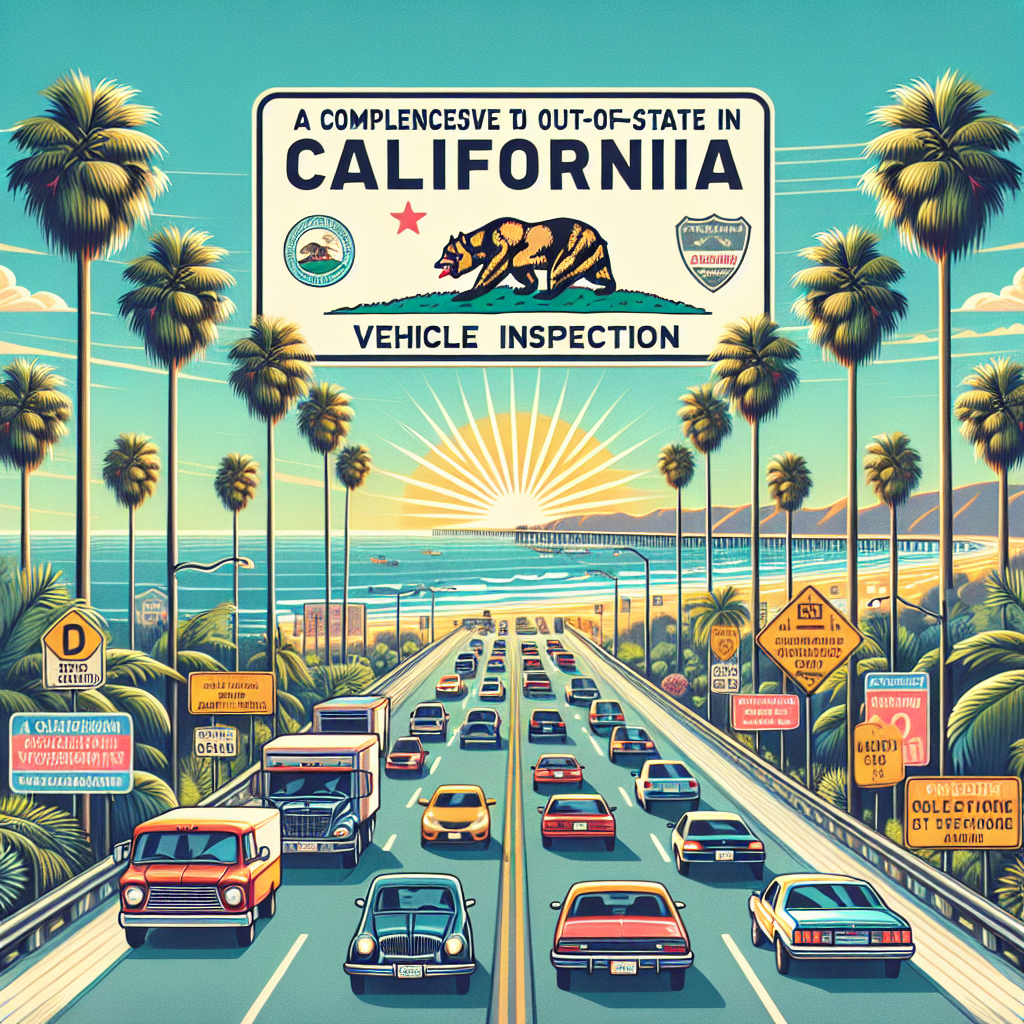
Smog Check Certification
California is serious about keeping the air clean, so most cars need a smog check before they can be registered. Go to a station approved by California to get your car checked. Make sure you keep the certification because not having it can stop the process in its tracks.
Watch Out for These Common Mistakes
- Incomplete Forms
- Wrong or Missing Information
- Sending Things Late
Not filling out forms correctly is a common mistake. Take your time to fill out every part of the forms carefully. You can use the DMV’s online tools to make sure you’re doing it right.
Double-check everything before you turn it in. Any mistakes with names, addresses, or vehicle identification numbers (VINs) can mean you’ll have to redo things, which can be frustrating.
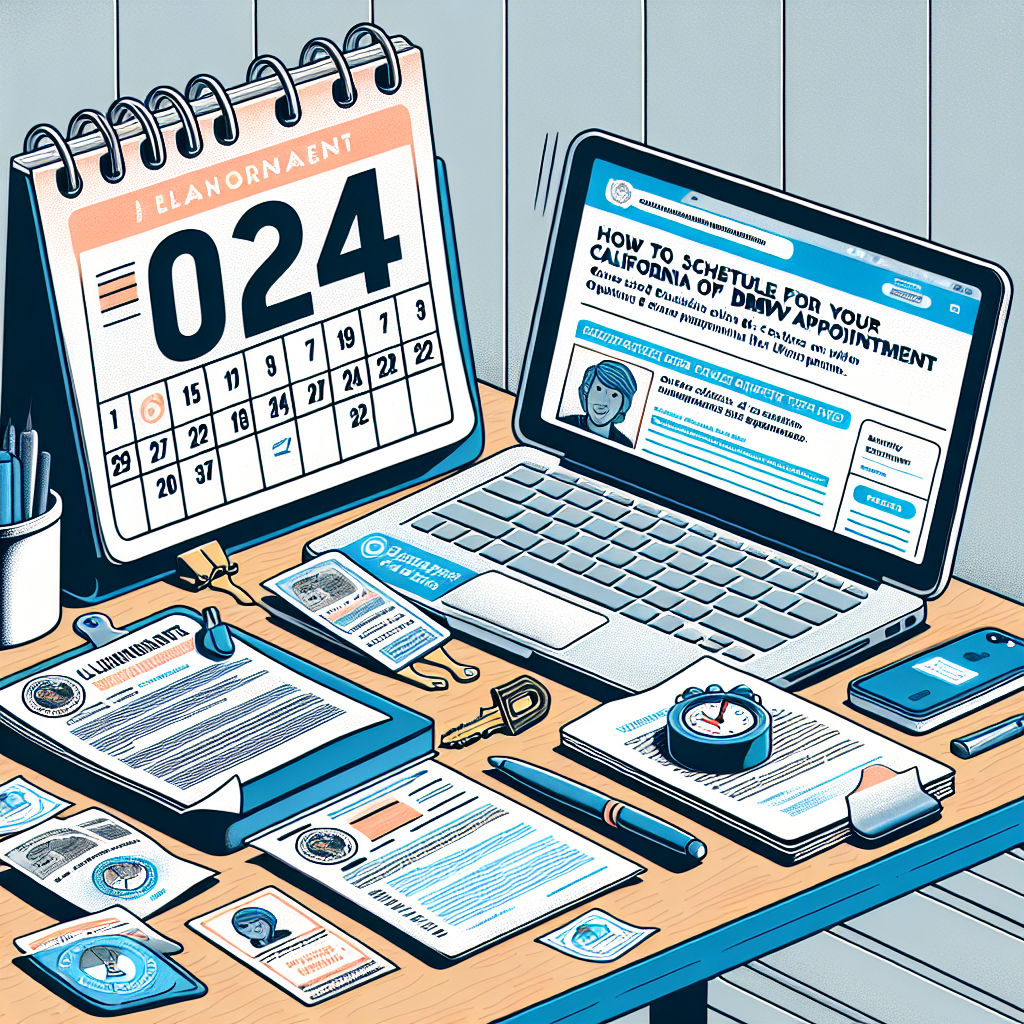
Timing is really important. Know the deadlines for sending in your documents. If you’re late, you might have to pay extra fees or your registration might get delayed. Set reminders so you’re always on time.
Tips for an Easy Move
- Use DMV Resources
- Get Professional Help
- Plan Ahead
The DMV website is super helpful. You can find lots of information and forms online, which can save you a trip.
There are services that can make this whole process easier, like Tags Clinic. They can help with all the details and make sure everything is just right.
It’s always a good idea to plan ahead. Make a checklist of everything you need to do so you don’t forget anything important.
Wrapping It Up
By avoiding common mistakes and getting everything in order, you can make moving to California a lot easier! If you have any questions or want to share your own experiences, leave a comment below. We’re here to help!
Call to Action
If you need professional help with your car registration or have any more questions, don’t hesitate to reach out to us at Tags Clinic. Our clinic is located at 3845 University Ave, San Diego, CA. Feel free to drop by or give us a call at 619-777-9046. To learn more, you can visit our website at https://tagsclinic.com. We’re ready to make your move to California as smooth as possible!