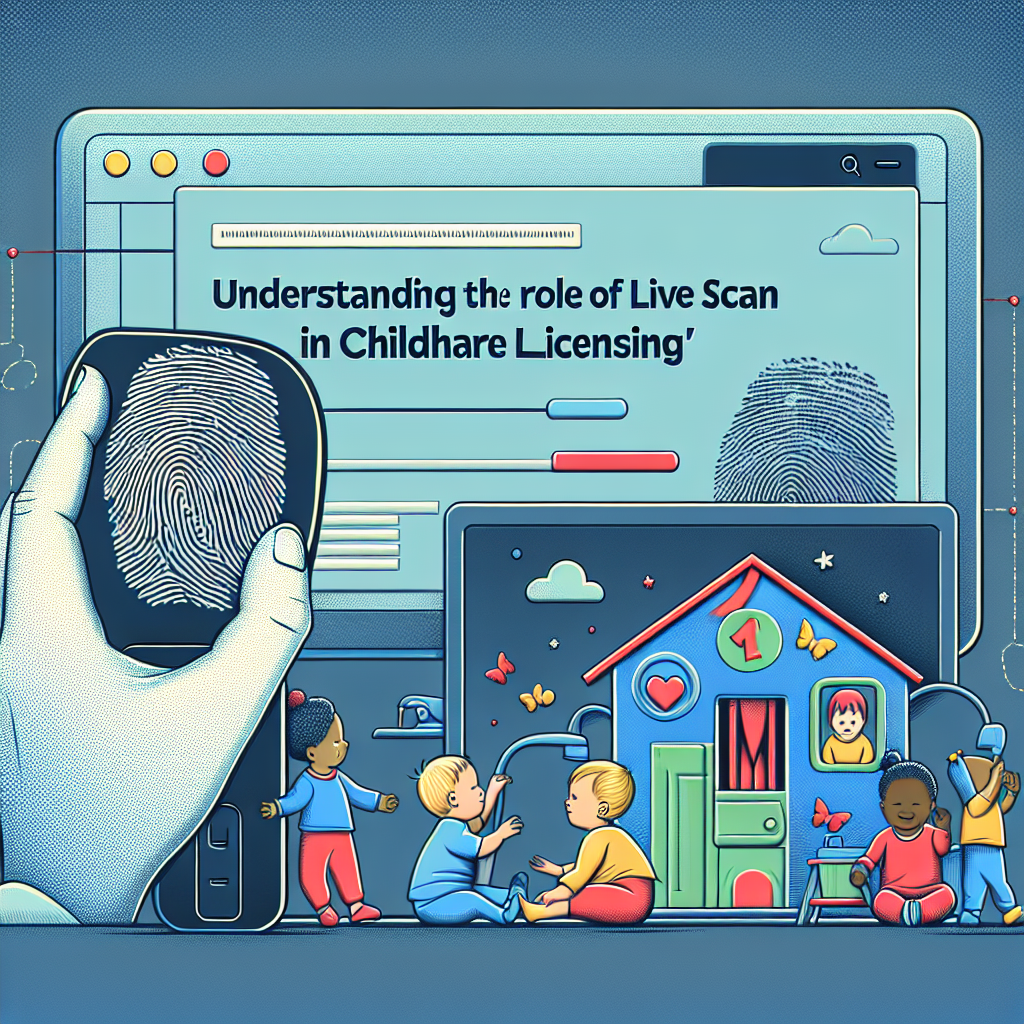
Understanding the Role of Live Scan in Childcare Licensing
Introduction
In the world of childcare licensing, keeping kids safe is the most important thing. One of the tools that help make sure places are safe for children is called Live Scan, a really important technology. In this blog post, we’ll learn about why Live Scan is important, how it works, and why it’s so crucial for childcare licensing.
What is Live Scan?
Live Scan is a new, electronic way to take fingerprints for background checks. It’s much cooler than using ink and paper. This technology captures fingerprints straight into a digital format, which makes the process faster and more accurate. Unlike the old method, which could be smudgy or hard to read, Live Scan cuts down on mistakes, making sure the information is correct and dependable.
Why Background Checks Matter in Childcare
Background checks are super important in the childcare world. They help check if people wanting to work with kids have any bad history. Studies show that these checks have stopped many problems by not allowing people with criminal pasts to work with children. Laws usually require these checks to keep kids safe, making them a must-do part of getting a license to work in childcare.
How to Get a Live Scan for Childcare Licensing
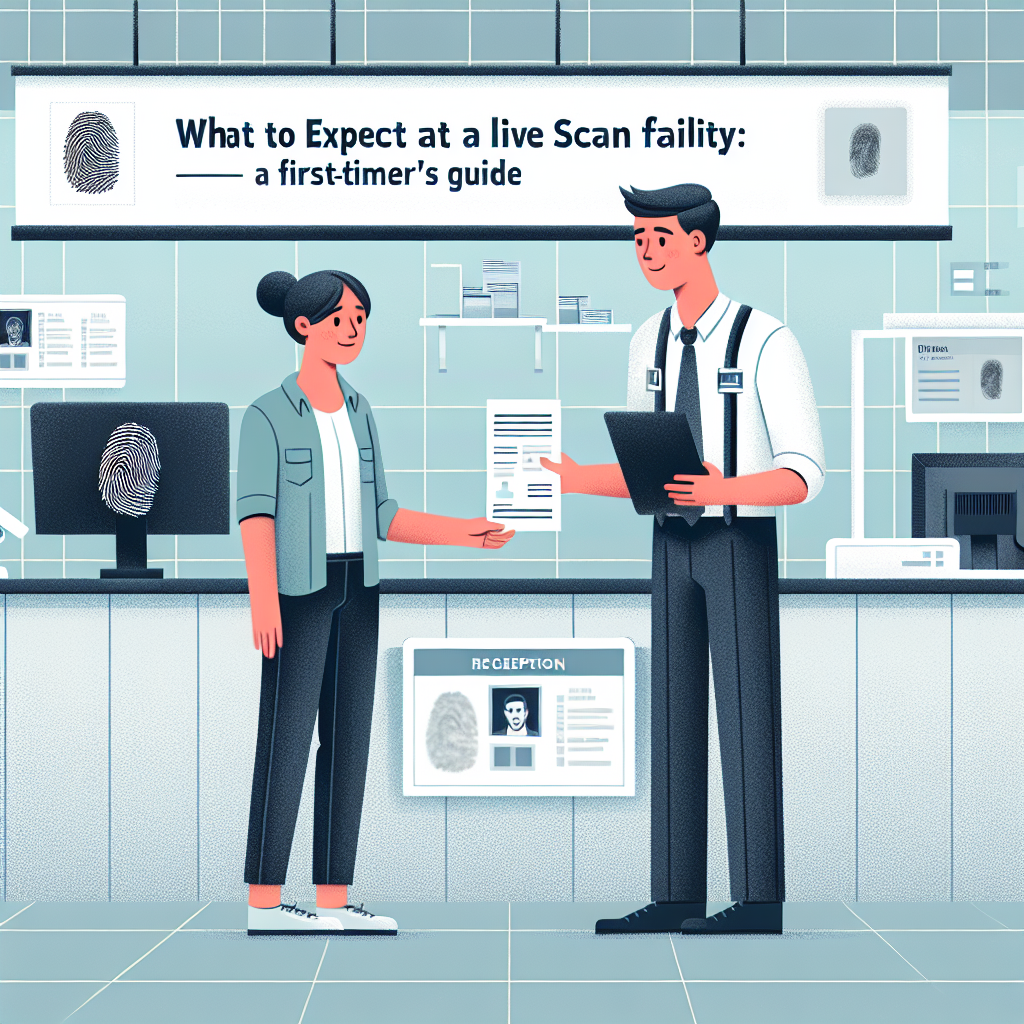
Going through a Live Scan for a childcare license is easy. Here’s a step-by-step guide to help you:
- Find an Authorized Live Scan Location: Go to a place that’s approved for Live Scan to get started.
- Bring Important Documents: Make sure you have a photo ID and any forms the licensing board needs.
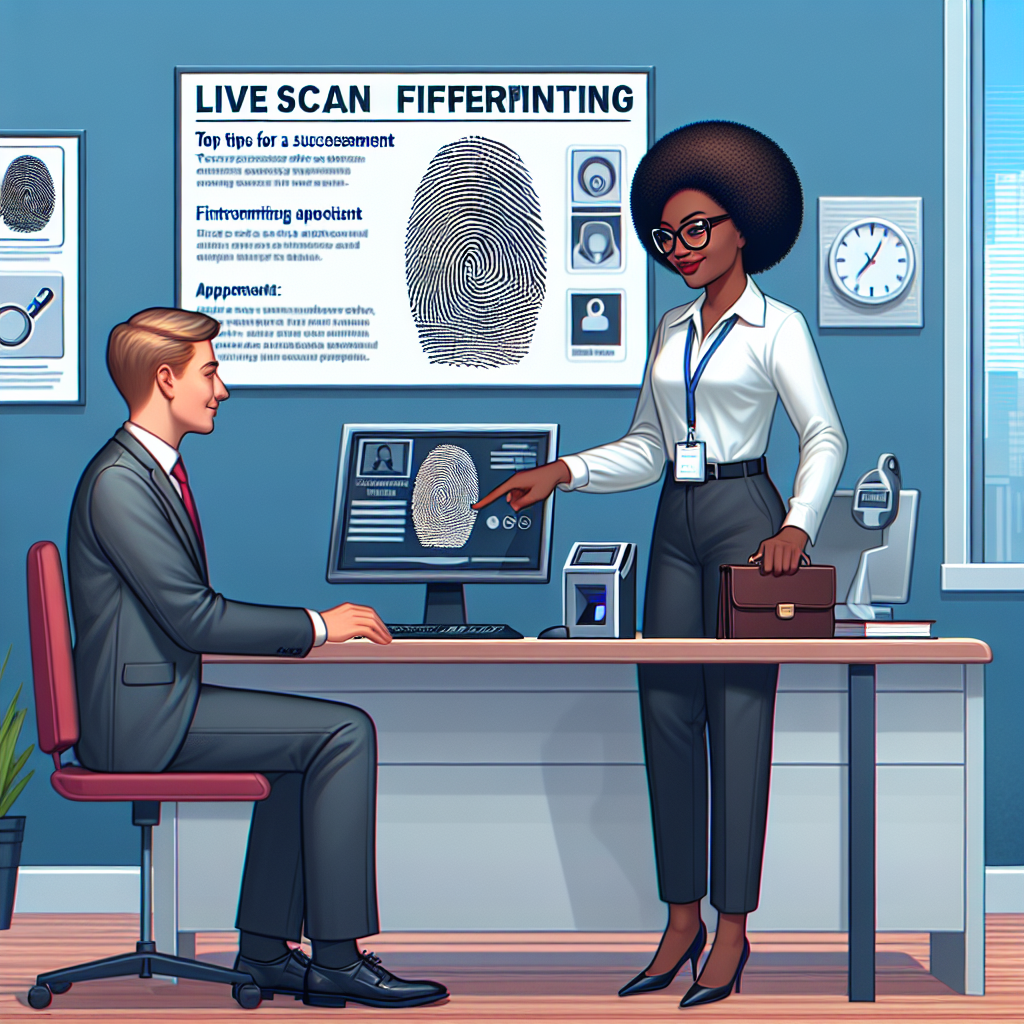
- Get Fingerprinted: The technician will show you how the Live Scan fingerprinting works.
- Finish Your Application: After your fingerprints are taken, complete any other steps or forms needed.
- Wait for Results: You usually get the results back in a few days to a couple of weeks, depending on how long it takes to process.
Questions People Often Ask
- How long does the Live Scan take? The actual scanning takes just about 10-15 minutes.
- What if my Live Scan is rejected? If there’s a problem, like unreadable prints, you’ll be told and need to do it again.
- How are my results kept safe? Live Scan results are sent securely to the background check databases, keeping them private and confidential.
Why Live Scan is Better for Childcare Licensing
Using Live Scan instead of other methods has lots of benefits:
- More Accurate and Reliable: Live Scan captures fingerprints better and has fewer errors.
- Fast and Efficient: Results come back faster, so you wait less.
- Secure Handling: Digital transmission keeps the data safe and reduces the risk of it being tampered with or lost.
How Live Scan Fits into the Childcare Licensing Process
Live Scan is an important part of getting a childcare license. After you finish training and meet the education needs, you do the Live Scan process. This happens before or during your final application, helping make sure only those who pass the checks get licenses.
Common Confusions About Live Scan
Even though it’s effective, people sometimes misunderstand Live Scan. Some think it’s hard to use or worry about its safety, but those worries aren’t needed. It’s designed to be easy and secure. If someone has trouble, like if fingerprints don’t show up well, it might be due to dry hands or skin issues, which can be fixed with things like lotion or staying hydrated.
Real-Life Examples
Think about a childcare center where a new worker went through Live Scan. It showed that they had a criminal record, stopping potential danger. Many childcare places using Live Scan say it makes things easier and raises their safety and trust standards.
Conclusion
In summary, Live Scan is crucial for keeping childcare places safe. As technology improves, its use promises even more efficiency and security in getting licenses. Childcare providers should learn about these tools to make sure they meet requirements and keep kids safe.
Extra Help
To learn more, check out the California Department of Justice’s Live Scan Page. To find a Live Scan provider near you or if you need more help, visit Live Scan Locations. For a detailed guide on childcare licensing, you might want to read Child Care Licensing Resources.
By understanding and using the role of Live Scan in licensing, people in childcare can help create safer and more secure places for children.
Call to Action
Want to learn more about how we can help with your Live Scan and childcare licensing needs? Visit us at Tags Clinic at 3845 University Ave, San Diego, CA or give us a call at 619-777-9046. Our dedicated team is ready to provide you with the best possible service. Don’t wait, get in touch today!